Team Management
Invite members, manage roles and permissions in your workspace
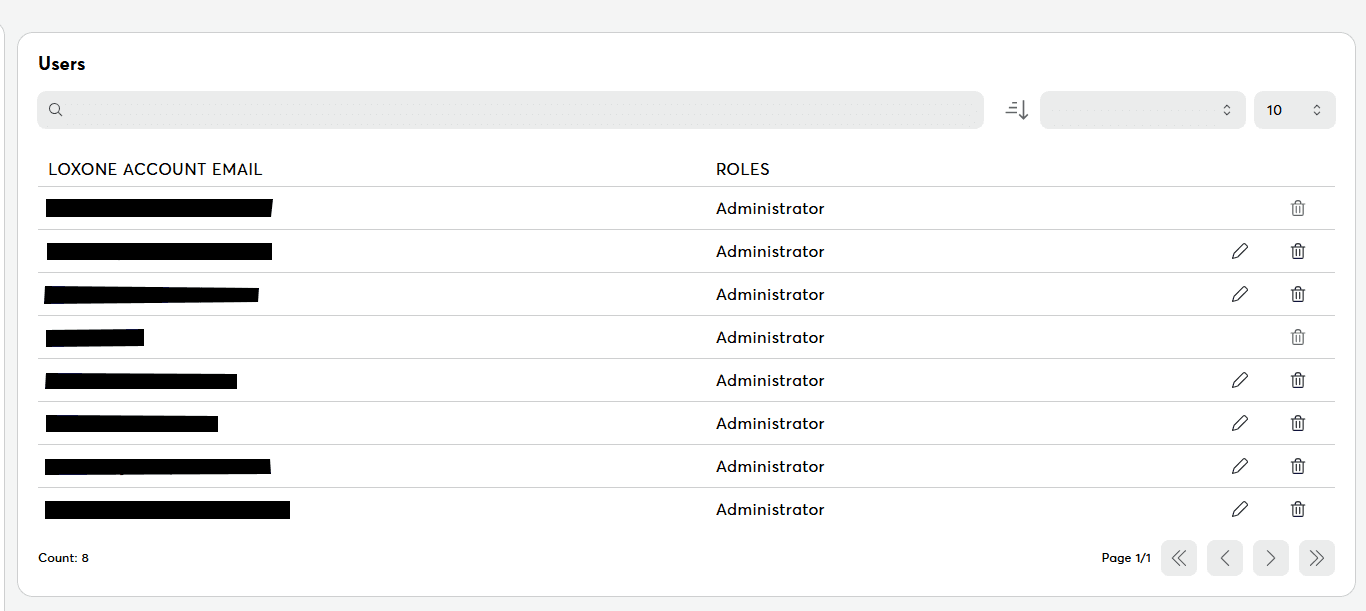
Inviting Team Members
Required permissions: Administrator or Owner role
Step-by-Step
-
Access Team Management
- Navigate to "Team" Settings
- Click "Invite Members" button
-
Enter Invitation Details
- Enter email addresses
- Select role for each user (Owner, Administrator, Editor, Viewer (with Loxone Config), or Viewer)
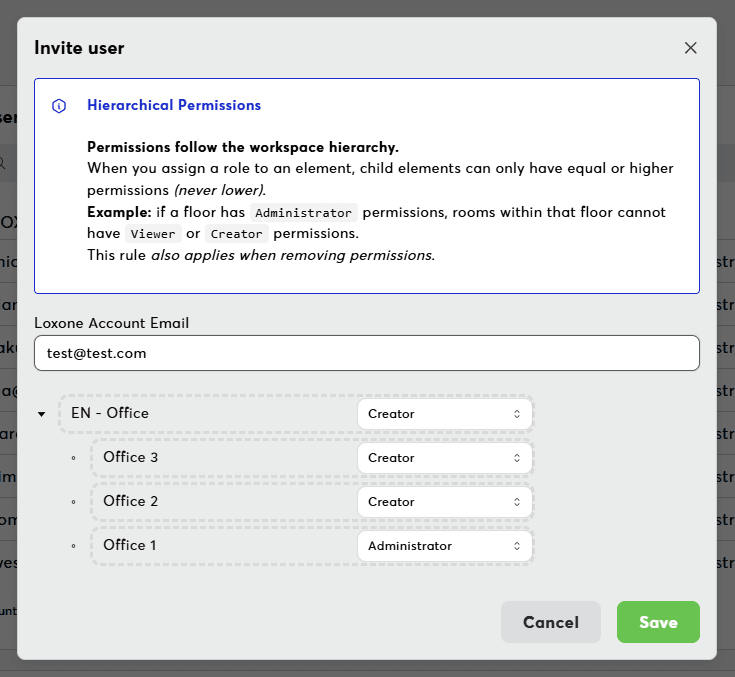
-
Send Invitations
- Review invitation details
- Click "Save"
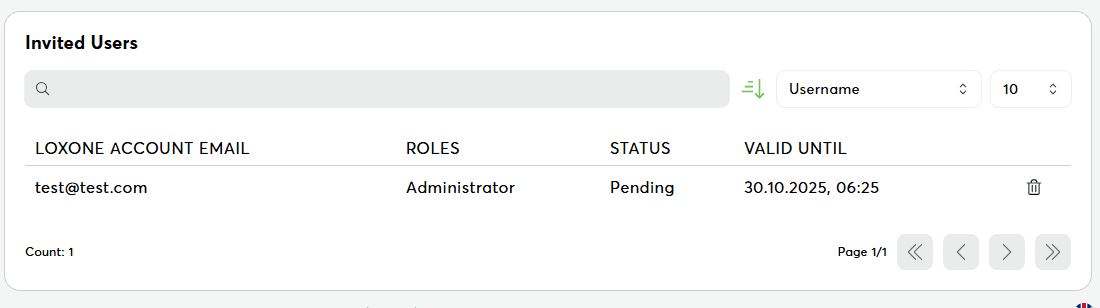
- Confirm by looking at pending invitations list
-
Monitor Invitations
- Track invitation status (Pending, Accepted, Expired)
- Cancel pending invitations if necessary
Invitation Management
Regularly review pending invitations. Expired invitations can be resent with a new expiry date.
User Roles and Permissions
Exosphere uses role-based access control to manage user permissions. Each role has specific capabilities and restrictions.
Detailed Permissions
See User Permissions & Roles for the complete permission matrix and role capabilities.
Managing Team Members
User Management Actions
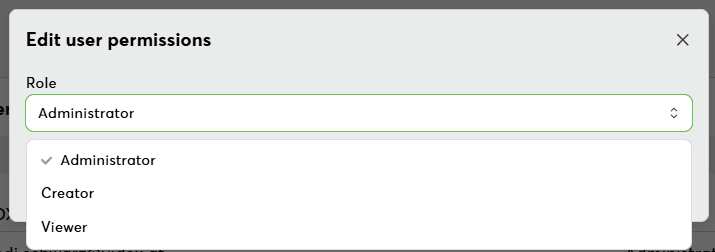
Changing User Roles:
- Navigate to user in user list
- Click "Change Role"
- Select new role
- Confirm change
Removing Users:
- Select user in user list
- Click "Remove User"
User Removal
Removing a user is permanent. The user must be re-invited to rejoin.
Invite via Invitation Link
With this feature you can create a link that can be used to invite users to your workspace.
- Navigate to the "Team" section
- Click on "Invite Link"
- Click "Create Invitation Link"
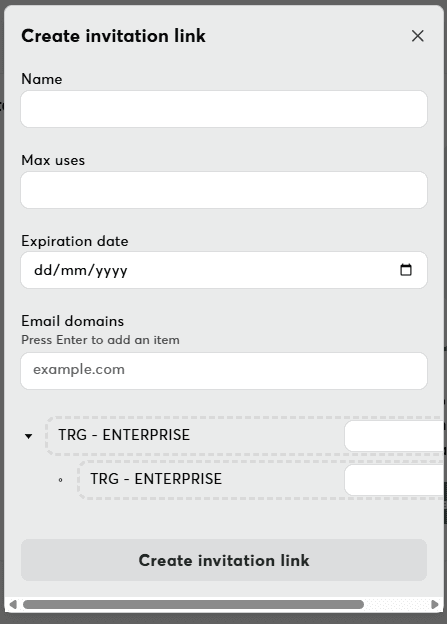
- Modify settings if needed and click "Create Invitation Link"
Invite Link Settings:
- Max Uses: How often the link can be used
- Expiration Date: When the link will expire
- Email Domain Restriction: Only users with this email domain can use the link
- Role: The role assigned to users who join via this link
Invite Link Management:
- Copy Link: Copy link to clipboard
- Edit: Modify settings
- Delete: Delete invite link
- Revoke: Revoke invite link

When a user clicks the link, they will be prompted to enter their email address and password. They will then be added to your workspace with the role you have set.
Related Documentation
- User Permissions & Roles - Complete permission matrix and role details
- Authentication & Login - Account creation
- License Management - User capacity and limits
- Permission Issues - Troubleshooting permission problems
- Workspace Issues - Common team issues